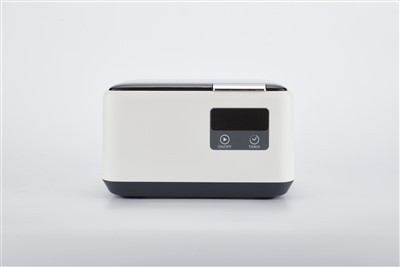
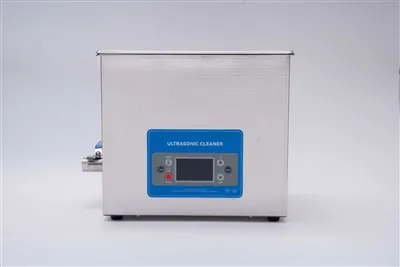
Hey there! As a supplier of DIY Ultrasonic Parts Cleaners, I'm often asked about how to clean the ultrasonic transducer in these nifty devices. Well, you've come to the right place! In this blog, I'll walk you through the whole process, step by step.


First off, let's talk a bit about what an ultrasonic transducer is and why it's so important. The ultrasonic transducer is like the heart of your DIY Ultrasonic Parts Cleaner. It's the part that generates those high - frequency sound waves that create tiny bubbles in the cleaning solution. These bubbles then collapse, creating a scrubbing action that gets rid of dirt, grime, and grease from your parts.
Now, why do you need to clean the transducer? Over time, the transducer can get coated with all sorts of gunk. This can reduce its efficiency, meaning it won't generate those powerful sound waves as effectively. So, regular cleaning is essential to keep your cleaner working at its best.
Tools and Materials You'll Need
Before you start cleaning the ultrasonic transducer, gather these items:
- Distilled water: Tap water can contain minerals that might leave deposits on the transducer. Distilled water is pure and won't cause any issues.
- Mild detergent: Something gentle that won't damage the transducer. Avoid using harsh chemicals.
- Soft brush: A toothbrush or a small paintbrush works great. Make sure the bristles aren't too stiff.
- Clean, lint - free cloth: This is for drying the transducer after cleaning.
Step 1: Unplug the Cleaner
Safety first! Before you do anything, unplug your DIY Ultrasonic Parts Cleaner from the power source. You don't want to risk getting an electric shock while you're working on it.
Step 2: Drain the Cleaning Solution
If there's any cleaning solution left in the tank, carefully drain it out. You can use a small bucket or a container to catch the solution. Make sure you dispose of it properly according to local regulations.
Step 3: Inspect the Transducer
Take a good look at the transducer. You'll usually find it at the bottom of the cleaning tank. Look for any visible signs of dirt, debris, or buildup. Sometimes, you might see a white or brownish film on the surface.
Step 4: Prepare the Cleaning Solution
Mix a small amount of mild detergent with distilled water in a separate container. You don't need a lot of detergent - just enough to create a slightly soapy solution.
Step 5: Clean the Transducer
Dip the soft brush into the soapy solution and gently scrub the surface of the transducer. Be careful not to apply too much pressure, as you don't want to damage it. Work in small circular motions, covering the entire surface of the transducer. Pay special attention to any areas with heavy buildup.
If there are some stubborn spots that won't come off with the brush, you can soak a clean cloth in the soapy solution and gently rub the area. But again, be gentle.
Step 6: Rinse the Transducer
Once you've scrubbed the transducer clean, rinse it thoroughly with distilled water. This will remove any remaining detergent or debris. You can use a jug or a spray bottle to pour or spray the water over the transducer.
Step 7: Dry the Transducer
Use a clean, lint - free cloth to dry the transducer completely. Make sure there's no moisture left on the surface. Any remaining water could cause corrosion or other problems over time.
Step 8: Reassemble and Test
After the transducer is dry, you can reassemble your DIY Ultrasonic Parts Cleaner. Fill the tank with fresh cleaning solution, plug it in, and turn it on. Let it run for a few minutes to make sure everything is working properly.
Tips for Maintaining Your Ultrasonic Transducer
- Use the right cleaning solution: Always use a cleaning solution that's recommended for ultrasonic cleaners. Some solutions can be too harsh and damage the transducer.
- Don't overfill the tank: If you fill the tank too much, the cleaning solution can splash onto the transducer and cause damage.
- Clean regularly: Make it a habit to clean the transducer every few uses. This will prevent heavy buildup and keep your cleaner working well.
Applications of Ultrasonic Parts Cleaners
Ultrasonic parts cleaners have a wide range of applications. One of the popular uses is for cleaning bike parts. If you're into cycling, you know how dirty bike parts can get. An Ultrasonic Cleaner For Bike Parts can make the cleaning process a breeze. It can clean gears, chains, brakes, and other components thoroughly, removing all the dirt and grease that accumulates during rides.
For those who are really serious about bike maintenance, the Best Ultrasonic Cleaner for Bike Parts | Fast Heating & Auto Temperature Display is a great option. It offers features like fast heating and auto - temperature display, which can improve the cleaning efficiency.
Contact Us for Your Ultrasonic Parts Cleaner Needs
If you're in the market for a high - quality DIY Ultrasonic Parts Cleaner or have any questions about cleaning and maintaining them, don't hesitate to reach out. We're here to help you find the best solution for your needs. Whether you're a hobbyist or a professional, our products are designed to meet your requirements.
References
- Ultrasonic Cleaning Technology Handbook
- DIY Ultrasonic Parts Cleaner Manufacturer's Manual