Hey there! As a supplier of Ultrasonic Cleaners for Retainers, I often get asked about how to clean the ultrasonic cleaner itself. It's a crucial aspect that many people overlook, but keeping your cleaner in top - notch condition ensures it works effectively for a long time.
First off, let's understand why cleaning the ultrasonic cleaner is so important. Over time, dirt, debris, and residue from cleaning retainers can build up inside the cleaner. This buildup can affect the ultrasonic waves that do the actual cleaning. If the waves are disrupted, your retainers won't get as clean as they should, and it can also put extra strain on the cleaner's components, potentially shortening its lifespan.
Pre - cleaning Steps
Before you start cleaning the cleaner, make sure it's unplugged. Safety first, right? You don't want to risk any electrical shocks while you're getting your hands wet.
Next, empty the water from the cleaner. If there are any large debris floating in the water, you can use a small strainer or a net to scoop them out. This will make the cleaning process easier later on.
Cleaning the Interior
The interior of the ultrasonic cleaner is where most of the action happens, so it needs some special attention.
For a basic clean, you can use a mild dish soap. Fill the cleaner with warm water and add a few drops of dish soap. Let it sit for about 10 - 15 minutes. This gives the soap time to break down any grease or grime.
After the soaking time, use a soft - bristled brush, like a toothbrush, to gently scrub the inside of the cleaner. Pay close attention to the corners and the bottom, as these are the areas where dirt tends to accumulate. Don't be too rough, though, as you don't want to damage the ultrasonic transducers. These are the parts that generate the ultrasonic waves, and they're pretty delicate.
Once you've scrubbed the interior, drain the soapy water and rinse the cleaner thoroughly with clean water. You might need to do this a few times to make sure all the soap is gone. Residual soap can leave a film on your retainers and affect their cleanliness.


If your ultrasonic cleaner has stubborn stains or mineral deposits, you can use a vinegar solution. Mix equal parts of white vinegar and water. Pour the solution into the cleaner and let it soak for 30 minutes to an hour. Vinegar is great at dissolving mineral deposits and breaking down tough stains.
After soaking, use the soft - bristled brush to scrub the interior again. The vinegar will have loosened the deposits, making them easier to remove. Once you're done scrubbing, drain the vinegar solution and rinse the cleaner well with clean water. You might notice a slight vinegar smell, but this will go away after a few hours of air - drying.
Cleaning the Exterior
The exterior of the ultrasonic cleaner also needs some love. Wipe it down regularly with a damp cloth. You can add a little bit of mild soap to the water if there are stubborn marks.
For the control panel, be extra careful. Use a dry, soft cloth to gently wipe it. Avoid getting water on the buttons or any electrical components. If there are smudges, you can use a small amount of rubbing alcohol on a cloth to clean them. Just make sure to wring out the cloth well so it's barely damp.
Drying the Cleaner
After cleaning, it's important to dry the ultrasonic cleaner thoroughly. You can use a clean, dry cloth to wipe down the interior and exterior. Then, leave the cleaner open and let it air - dry for a few hours. Make sure there's good ventilation to prevent any mold or mildew from growing.
Maintaining Your Ultrasonic Cleaner
Regular maintenance is key to keeping your ultrasonic cleaner in great shape. Here are some tips:
- Use distilled water: Tap water contains minerals that can build up inside the cleaner over time. Using distilled water can reduce the amount of mineral deposits.
- Clean after each use: It's a good idea to empty the water and give the cleaner a quick rinse after each use. This will prevent dirt and debris from sitting in the cleaner for too long.
- Store properly: When not in use, store the cleaner in a dry, cool place. Avoid storing it in a humid environment, as this can lead to rust and other problems.
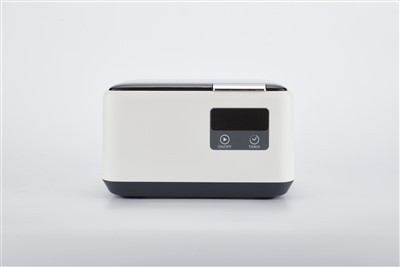
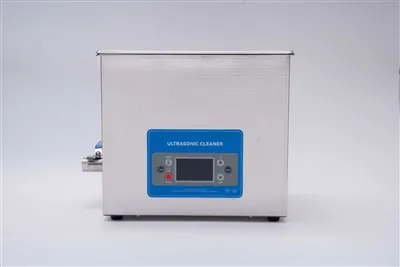
Now, if you're in the market for a new Ultrasonic Cleaner for Retainers, we've got some great options. Check out our Retainers Ultrasonic Cleaner. It's a high - quality cleaner that gets the job done efficiently.
If you're always on the go, our Portable Ultrasonic Retainer Cleaner is perfect for you. It's small, lightweight, and easy to carry around.
And for those who want the latest technology, our Digital Ultrasonic Retainer Cleaner offers precise control and advanced features.
If you're interested in purchasing our products or have any questions, feel free to reach out. We're always happy to help you find the right ultrasonic cleaner for your needs and guide you through the cleaning and maintenance process.
References
- "Ultrasonic Cleaning Basics" - Ultrasonic Cleaning Association
- "Caring for Your Ultrasonic Cleaner" - Home Cleaning Guides Magazine